How to Control RF Devices with LinknLink eHome and Home Assistant: Complete Guide
Are your counters covered in RF remotes for blinds, a ceiling fan, or a projector screen? This guide shows how to consolidate all your RF remotes into a single smart hub—the LinknLink eHome—and how to integrate it natively with Home Assistant via MQTT.
On YouTube I share more tutorials, hands-on tests and real smart home setups. Subscribe on YouTube
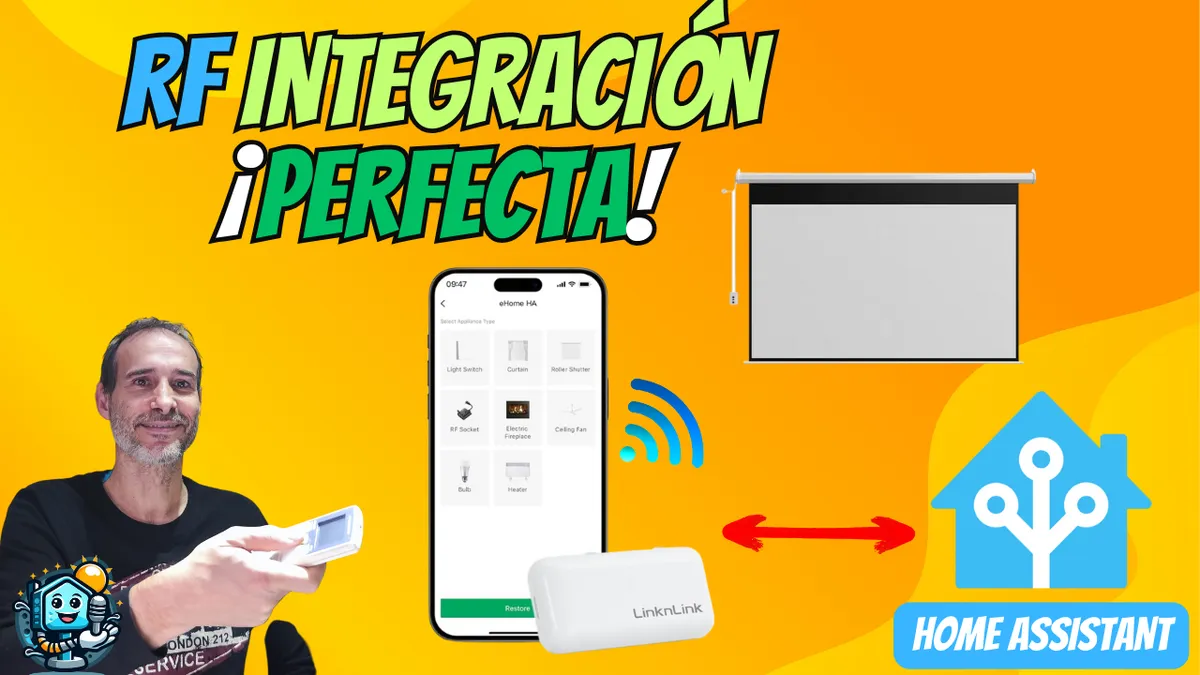
Related video on YouTube
VideoWhat is LinknLink eHome and why is it the best for Home Assistant?
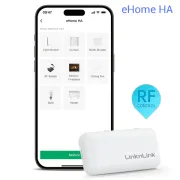
The LinknLink eHome is an RF hub designed to turn your "dumb" RF devices into smart ones. Unlike generic controllers, its main competitive advantage is its seamless integration with Home Assistant.
While other devices force you to set up complex scripts or separate buttons, the eHome automatically creates native entities (such as covers for blinds or fans for ceiling fans) by itself.
Technical specifications and compatibility
To automate your home with RF, you should know three key factors that the eHome covers extensively:
- Frequencies: Covers the 300-340 MHz and 430-440 MHz (including the 433 MHz standard).
- Fixed Code: Compatible with most curtains, projector screens and lights.
- Rolling Code: It's important to note that, for security, Rolling Code systems (common in modern garage doors) cannot be cloned.
Step-by-step: Initial eHome setup
- Connection: Plug the device in using its micro USB cable. You'll see a blue LED blinking (pairing mode).
- LinknLink App: Add the device in the official app by selecting the "Hubs and Sensors" series.
- Remote learning: Choose the device type (e.g. blind), select the frequency (usually 433 MHz) and press the buttons on your physical remote near the eHome so it learns the up, down and stop signals.
Integration in Home Assistant via MQTT
This is where the LinknLink eHome shines. Follow these steps to bring your RF devices into your dashboard:
- Setup MQTT: In the LinknLink app, go to the eHome settings and select "MQTT Connection".
- Credentials: Enter the IP of your Home Assistant server, the port (1883 by default), your username and password.
- Auto-discovery: Once saved, Home Assistant will automatically detect your devices. If you've configured a projector screen, it will appear directly as a cover entity.
Pro Tip: How to keep buttons active in Home Assistant
A common issue in Home Assistant is that after pressing "down" on an RF blind, the button becomes disabled because the system assumes it's already closed. If you want to keep all three buttons (up, stop, down) always active, you can create a template in your configuration.yaml file.
template:
  - cover:
      - name: "Pantalla Proyector"
        unique_id: pantalla_proyector_pro
        device_class: curtain

        open_cover:
          - action: cover.open_cover
            target:
              entity_id: cover.pantalla_proyector_mqtt

        close_cover:
          - action: cover.close_cover
            target:
              entity_id: cover.pantalla_proyector_mqtt

        stop_cover:
          - action: cover.stop_cover
            target:
              entity_id: cover.pantalla_proyector_mqtt
With this code, you'll avoid state limitations and retain full control at all times.
Where to buy
If you are interested in any of the options mentioned, here are the available links:
- LinknLink eHome HA — Reviewed in the video: Official website · Amazon · AliExpress
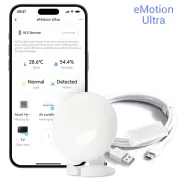
- LinknLink eMotion Ultra — Superior version: Official website · AliExpress · Amazon
Conclusion: Automate your "Movie Mode"
Thanks to the LinknLink eHome, you can create powerful automations. For example, when you activate "Movie Mode", Home Assistant can lower the projector screen via RF, power the projector via infrared (using the eMotion Pro) and dim the lights, all synchronized.
If you're looking for the most professional and simplest way to remove RF remotes from your home, the LinknLink eHome is currently the definitive recommendation for any Home Assistant user.
Related video

Reviewed device