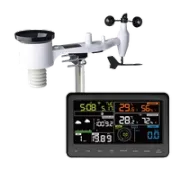
Complete Guide: Installing and Integrating the Ecowitt WS2910 Weather Station with Home Assistant
Love weather and home automation? Having your own weather station not only lets you monitor the exact conditions at your location, it also opens up a world of possibilities for automating your home. In this article, we break down step by step how to set up the Ecowitt WS2910, one of the best value weather stations on the market, and how to integrate it locally with Home Assistant.
On YouTube I share more tutorials, hands-on tests and real smart home setups. Subscribe on YouTube
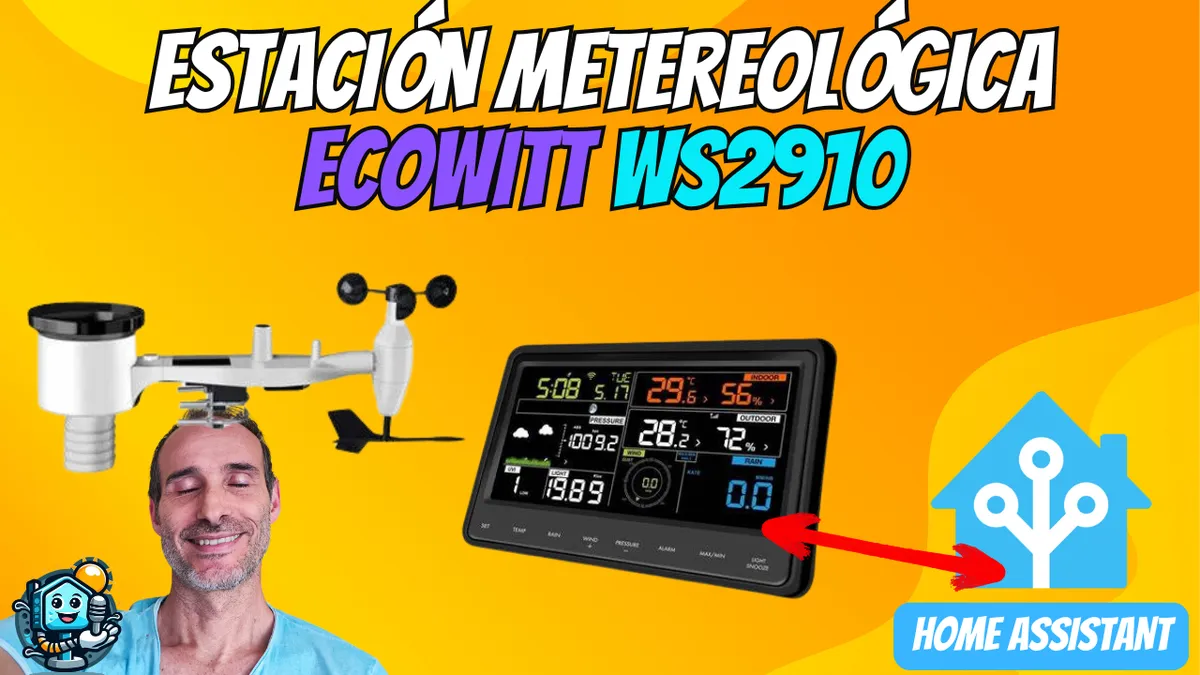
Related video on YouTube
VideoWhy Choose the Ecowitt WS2910?
The main advantage of Ecowitt devices is their ability to integrate locally. Unlike other stations that rely exclusively on the cloud, the WS2910 lets us bring all of its sensors into Home Assistant directly. On top of that, its price on AliExpress is unbeatable.
1. Unboxing and Assembly: Getting Started
The station comes with everything you need: the outdoor unit (sensors), the WH2900 display panel, anemometer, wind vane, and rain gauge.
Key assembly steps:
- Assembly: Secure the wind vane and anemometer with the included safety screws.
- Power:
- The outdoor unit requires 2 AA batteries. Important: Do not use rechargeable batteries, since their voltage is lower and they can cause issues. The station has a solar panel for self-powering, using the batteries only when there is no sun.
- The WH2900 indoor panel uses 3 AAA batteries (backup) and is powered via USB.
- Syncing: Once the batteries are installed, the outdoor unit light will flash every 16 seconds, indicating that it is sending data to the panel.
2. Location and Outdoor Installation (Crucial)
Do not install the station just anywhere. For accurate readings, follow these rules:
- Direct Sun: It should be in the sun all day to measure temperature correctly and charge the solar panel.
- Away from Roofs: Avoid surfaces that radiate heat, such as roof tiles, so the temperature reading stays accurate.
- 45° Angle: Make sure there are no trees or walls within a 45-degree cone around the rain gauge so rain can fall freely.
- Height for Wind: Install it as high as possible on a mast so the wind can flow without obstacles.
3. App Setup and Cloud Services
To connect the station to your WiFi, we’ll use the WS View Plus app.
- Put the panel into pairing mode by holding
WIND + PRESSUREfor 5 seconds. - From the app, connect to the WiFi network created by the station (
EasyWeatherPro-xxxx). - Enter your network details and you’re done!
Sharing Your Data with the World
You can upload your data to global platforms. This helps the community and lets you view your data from anywhere:
- Ecowitt.net: Quick registration from the app to view online charts.
- Weather Underground: Create a device, get your
Station IDandStation Keyand enter them in the app. View station map. - Weather Cloud: Ideal for a more modern, detailed view.
4. Master Integration: Home Assistant
This is where the magic happens. By integrating it into Home Assistant, you can create automations such as: "If wind gusts exceed 50 km/h, close the awnings or open the garage door to prevent damage".
Technical Setup:
- In Home Assistant, go to Settings > Devices & Services > Add Integration > Ecowitt.
- In the WS View Plus app, go to Customized Server:
- Protocol: Ecowitt.
- Server IP: Your Home Assistant IP.
- Path:
/api/webhook/(followed by the ID provided by the integration). - Port:
8122. - Upload Interval: 60 seconds.
Battery Management with Battery Notes
To never run out of data, use the Battery Notes integration. It lets you know exactly how many batteries each part uses (3xAAA in the panel, 2xAA in the sensor) and when you last changed them.
Additional Resources
- Spanish Manual (PDF): Download it here.
- Meteoclimatic: If you are in Spain, this is the most serious network for sharing data. It requires meticulous station maintenance to become a "Trusted Station".
Got questions about the installation? Leave them in the video comments!
Where to buy
If you are interested in Ecowitt WS2910, here are the available purchase options:
- Ecowitt WS2910 — Reviewed in the video: AliExpress · Amazon