SmartIR Guide - How to Smart Home Your Air Conditioner and TV with Broadlink and Home Assistant
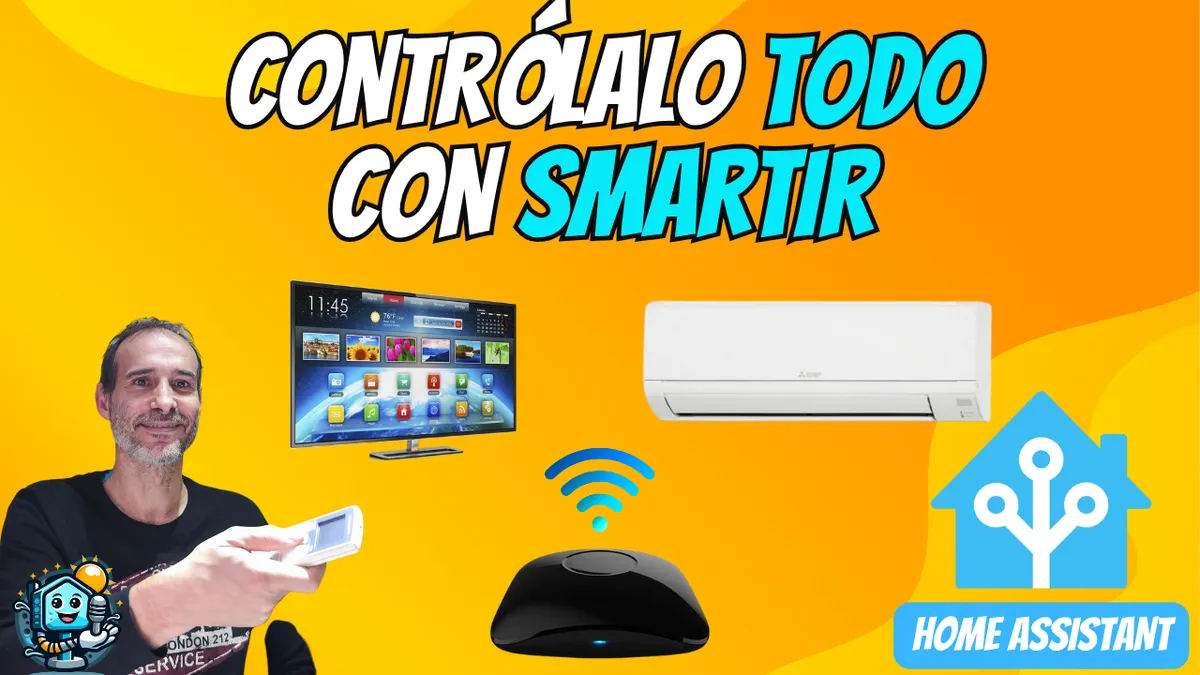
Got an air conditioner or an older TV that only works with a remote? No need to replace it. In this article, I’ll show you how to fully integrate them into Home Assistant using an infrared transmitter like the Broadlink RM4 Pro and the powerful SmartIR integration. With this setup, you’ll not only be able to turn your devices on and off from your phone, but also create smart thermostats and advanced media controls.
On YouTube I share more tutorials, hands-on tests and real smart home setups. Subscribe on YouTube
Related video on YouTube
VideoWhat do you need to get started?
To follow this guide, you should have:
- IR transmitter: I recommend the Broadlink RM4 Pro (which also includes Radio Frequency) or the Broadlink RM4 Mini (IR only).
- Temperature/Humidity Sensor: If you use Broadlink’s special cable with a sensor, you’ll get real-time data from the room.
- Home Assistant: With HACS installed.
💡 Tip: If you haven’t set up your Broadlink in Home Assistant yet, take a look at this previous step.
Step 1: Installing SmartIR via HACS
SmartIR is a custom integration that makes it much easier to create climate entities (climate control) and media_player entities (players).
- Go to HACS > Integrations.
- Click the three dots (top-right corner) > Custom repositories.
- Paste the SmartIR URL:
https://github.com/smartHomeHub/SmartIRand select Integration. - Download it and restart Home Assistant.
Once restarted, add the basic line to your configuration.yaml:
smartir:
Step 2: Setting Up the Air Conditioner (Climate Entity)
To make your AC appear as a real thermostat in Home Assistant, add the following code to your configuration. You’ll need to look up your model’s code in the SmartIR library.
YAML code for the Air Conditioner:
climate:
  - platform: smartir
    name: AC Salón
    unique_id: ac_salon
    device_code: 1120 # Sustituye por el código de tu modelo
    controller_data: remote.emisor_ir_remote # ID de tu Broadlink
    temperature_sensor: sensor.emisor_ir_temperatura
    humidity_sensor: sensor.emisor_ir_humedad
    power_sensor: binary_sensor.ac_salon_power # Opcional: para saber si está encendido
Status sensor (Optional but recommended)
If you have a power meter (like a Shelly or current clamps), you can create a binary_sensor so Home Assistant knows whether the AC is actually on:
template:
  - binary_sensor:
      - name: "AC Salón Encendido"
        unique_id: ac_salon_power
        state: >
          {{ states('sensor.consumo_aire_acondicionado_salon') | float(0) > 10 }}
        icon: >
          {% if this.state == 'on' %}
            mdi:air-conditioner
          {% else %}
            mdi:air-conditioner-off
          {% endif %}
Step 3: Controlling the TV (Media Player Entity)
Turning your TV into a media_player will let you control the volume, mute, or switch sources from the dashboard.
YAML code for the TV:
media_player:
  - platform: smartir
    name: TV Salón
    unique_id: tv_salon
    device_code: 1060 # Sustituye por el código de tu marca
    controller_data: remote.emisor_ir_remote
    power_sensor: binary_sensor.tv_power_status # Opcional
Recommended gear
These are the devices used in this project:
- Broadlink MR4 Pro (Con IR + RF): Aliexpress · Amazon · RM4 Mini (solo IR)
- BroadLink RM4 Mini — Budget option (Sin RF): AliExpress · Amazon
Conclusion and Testing
After adding the code and restarting, you’ll have new entities in your system. Now you can:
- Raise and lower the temperature from your phone.
- Automate the AC so it turns on based on feels like temperature (you can see how to do it in this other post).
- Control the TV with Google Home or Alexa through Home Assistant.
Smart home your house for less than €20 is possible! Don’t forget to check the updated AliExpress coupons to get your Broadlink at the best price.
Useful links mentioned:
Related video

Recommended gear
Con IR + RF