How to Install 20 Meters of Addressable COB LED Strip with WLED on a Pergola and Integrate It with Home Assistant
Lighting an outdoor pergola, porch, or terrace with LED strips is a popular smart home project. However, there is a big difference between powering a strip on a table and creating a permanent outdoor installation with hidden cables, weatherproof electronics, professional-looking finishes, and no voltage drops or flickering. In this step-by-step guide, you will learn how to install 20 meters of addressable COB LED strip using the open-source WLED firmware and then integrate it automatically with Home Assistant.
On YouTube I share more tutorials, hands-on tests and real smart home setups. Subscribe on YouTube
Related video on YouTube
VideoRequired materials and components
For a durable, professional-quality outdoor installation, these are the essential components:
- Addressable COB LED strip (24 V): COB (Chip on Board) technology completely eliminates the visible LED dot effect, producing a continuous, diffused line of light. Since the strip is digitally addressable, you can control individual pixels and create dynamic effects.
- 24 V power supply (at least 6.25 A): Using 24 V significantly reduces the current required compared with 5 V or 12 V, minimizing voltage drop over long distances.
- WLED-compatible controller: With quick lever connectors and a built-in microphone for sound-reactive effects.
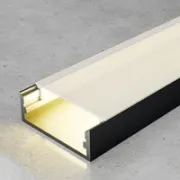
- Aluminum channels with translucent diffusers: Essential for dissipating heat and protecting the strip from dust and the elements.
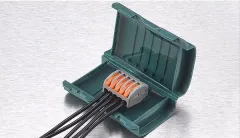
- Weatherproof outdoor junction boxes: To house the power supply, controller, and cable connections, keeping them protected from moisture and rain.
- Outdoor mounting adhesive.
Step 1: Bench testing and initial WLED setup
Before drilling any holes or gluing down a single channel, test the entire circuit on a table:
- Electrical connections: Connect the 24 V power supply to the controller and the controller output to the LED strip using waterproof threaded connectors.
- First power-on: Connect it to the mains and check that the power supply turns on, the controller boots, and the LEDs respond.
- WLED Wi-Fi setup:
- When first powered on, the controller creates its own access point:
WLED-AP. - Connect to it from your phone or PC (the default password is usually
wled1234). - Open the Wi-Fi settings, enter your home network SSID and password, and connect the controller to your LAN.
- When first powered on, the controller creates its own access point:
Step 2: Choosing and preparing the aluminum channels
A common mistake when working with COB strips is assuming they will fit inside any aluminum channel.
Why internal width matters
Weatherproof addressable COB LED strips are typically around 1 cm wide. Always check the internal width of the aluminum channel before buying it; many standard channels are too narrow.
Adapting the channels to your pergola
- Test fitting: Temporarily position the channels with double-sided tape to check alignment and work around fittings, roof cranks, or pergola screws.
- Cuts and notches: Use a hacksaw to make notches in the aluminum and translucent diffuser where you need to clear obstacles or route cables to the junction boxes.
- Permanent fixing: Apply a continuous bead of outdoor mounting adhesive. Immediately wipe away any excess that squeezes out along the edges before it cures.
Step 3: Installing the LED strip and weatherproof enclosures
- Attaching the strip: The strip has 3M adhesive backing. Peel off the protective liner and work one section at a time (handling 10 or 20 meters of loose strip can lead to pulling and breakage).
- Fitting the diffuser: Fit the translucent cover as you go to keep the strip enclosed and mechanically protected.
- Weatherproof housing: Place the power supply and controller inside a spacious weatherproof enclosure in a sheltered part of the pergola.
Step 4: Fixing flickering and signal issues on long runs (the data signal problem)
When the controller is several meters away from the strip, a serious problem can occur: the strip starts flickering intermittently (flickering).
Why does this happen?
Voltage drop is not always to blame. Addressable LED strips transmit a high-frequency digital signal. Extending the connection with a standard unshielded electrical cable can distort the signal or introduce noise before it reaches the first pixel.
The solution:
- Use Ethernet cable and run the data signal (
DATA) and ground (GND) together through one twisted pair. - The twisted pair provides a consistent ground reference and helps reduce electromagnetic interference, stabilizing the data signal without having to add resistors or signal repeaters.
- At maximum power (100% white, approximately 60 W / 2.5 A at 24 V per section), check that the connections are not overheating. If you join two strips inside the same box, soldering the wires saves space and helps ensure a reliable connection.
Step 5: Essential WLED settings
Once the hardware is working, configure these three essential settings in the WLED web interface:
- Set the exact LED count: Go to Config > LED Preferences and enter the exact number of pixels (for example, 200 LEDs). You can check that each chip responds individually.
- Set a static IP or mDNS hostname: Assign a recognizable name (e.g.,
wled-pergola.local) or reserve its IP address in your router’s DHCP settings so you do not lose access. - Security (change the AP password): Change the default access point password (
wled1234) to prevent unauthorized access to the device’s network.
Step 6: Integrating with Home Assistant
WLED has one of the most powerful native integrations in the smart home ecosystem:
- Automatic discovery: When connected to the same local network, Home Assistant can automatically discover the device through the WLED integration.
- Available entities: Controls are created for on/off, brightness, RGB color selection, speed, palettes, and the full range of dynamic effects.
- Automations and scenes:
- Group the pergola lights with your garden lighting.
- Create automations that switch the lights on in warm white at sunset and activate dynamic effects for celebrations.
- Synchronize the lights with outdoor presence sensors or Zigbee/Z-Wave smart switches.
Recommended gear
These are the devices used in this project:
Smart lighting
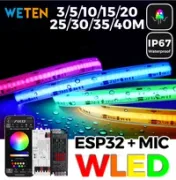
- WLED Waterproof RGBIC COB LED Strip Kit — Reviewed in the video: Aliexpress
Mounting
- LEDME Perfil de Aluminio MINIM Negro 2 m — Reviewed in the video: LEONLEDS
- JINH IP68 Mini Gel Wire Connector Junction Box — Reviewed in the video: AliExpress
Conclusion
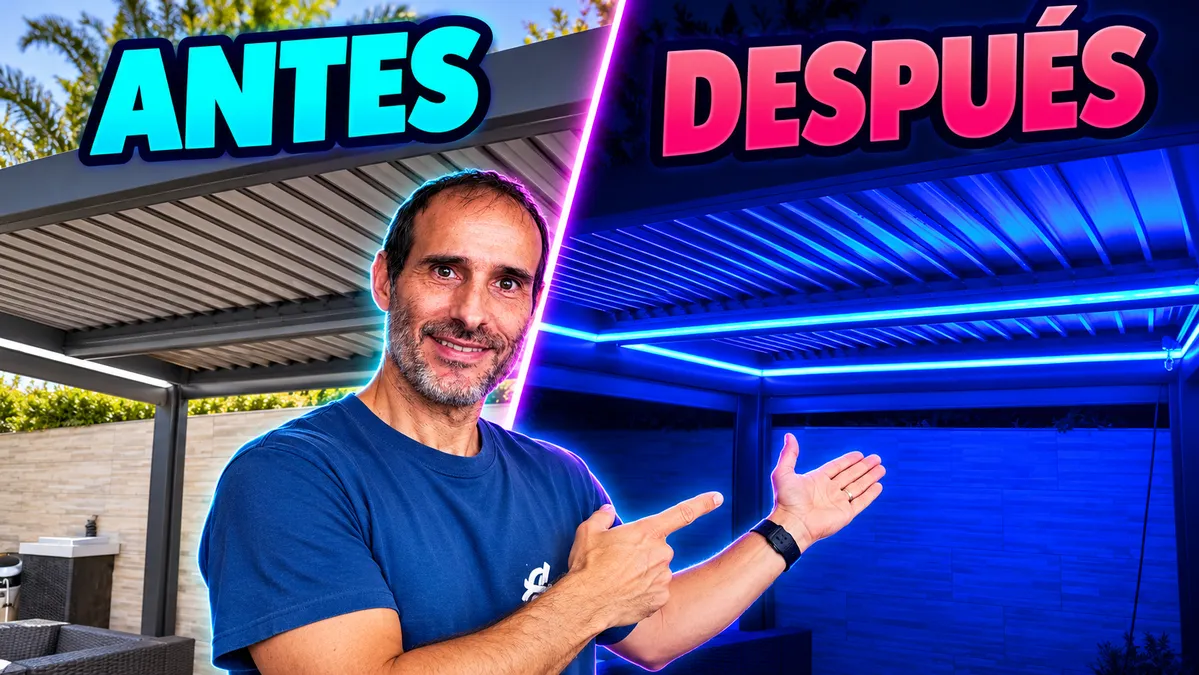
Combining 24 V addressable COB LED strips with WLED and aluminum channels delivers an excellent finish both day and night. You avoid visible individual LED dots, protect the electronics from the elements, and retain full local control without relying on cloud apps.
Related video

Recommended gear