
M5Stack Dial with Home Assistant: Build an ESPHome Smart Home Controller
Learn how to turn the M5Stack Dial into a practical physical controller for Home Assistant using ESPHome. This guide covers hardware testing, ready-made open-source firmware, customisation, wall or desk installation, and control of lights, climate, blinds and media players—without having to build everything from scratch.
On YouTube I share more tutorials, hands-on tests and real smart home setups. Subscribe on YouTube
Related video on YouTube
VideoWhat is the M5Stack Dial?
The M5Stack Dial is a device based on an ESP32-S3 that combines several useful features in a remarkably compact format:
- 1.28-inch circular touchscreen.
- Rotary encoder.
- Built-in button.
- Wi-Fi.
- RFID reader.
- Expansion GPIO pins.
- Power via USB or directly through the rear connector.
This combination makes it an ideal candidate for use as a physical controller for Home Assistant.
Instead of constantly reaching for your phone, you can keep a controller ready to use on a desk or mounted on a wall.
Why use a physical controller?
Home Assistant has an excellent interface, but some actions are repeated throughout the day.
For example:
- Turn lights on or off.
- Adjust brightness.
- Turn the music volume up or down.
- Change the air-conditioning temperature.
- Open or close blinds.
All of these actions normally involve picking up your phone, unlocking it, opening Home Assistant and tapping the screen several times.
With a physical controller, you simply turn a dial or press a button.
It may seem like a small difference, but after using it for a few days, it quickly becomes second nature and is difficult to give up.
First step: check that the hardware works
Before installing any custom firmware, I decided to use the example firmware provided by ESPHome Device Builder.
Its purpose is very simple:
- check that the screen works;
- verify that the rotary encoder responds correctly;
- make sure the button works;
- confirm that the device can communicate with Home Assistant.
It does not have an impressive interface and it is not designed to control your home.
Its sole purpose is to make sure the hardware is configured correctly before you start changing anything.
This is a highly recommended step because it removes a great deal of uncertainty when you later install more complex firmware.
The first genuinely useful firmware
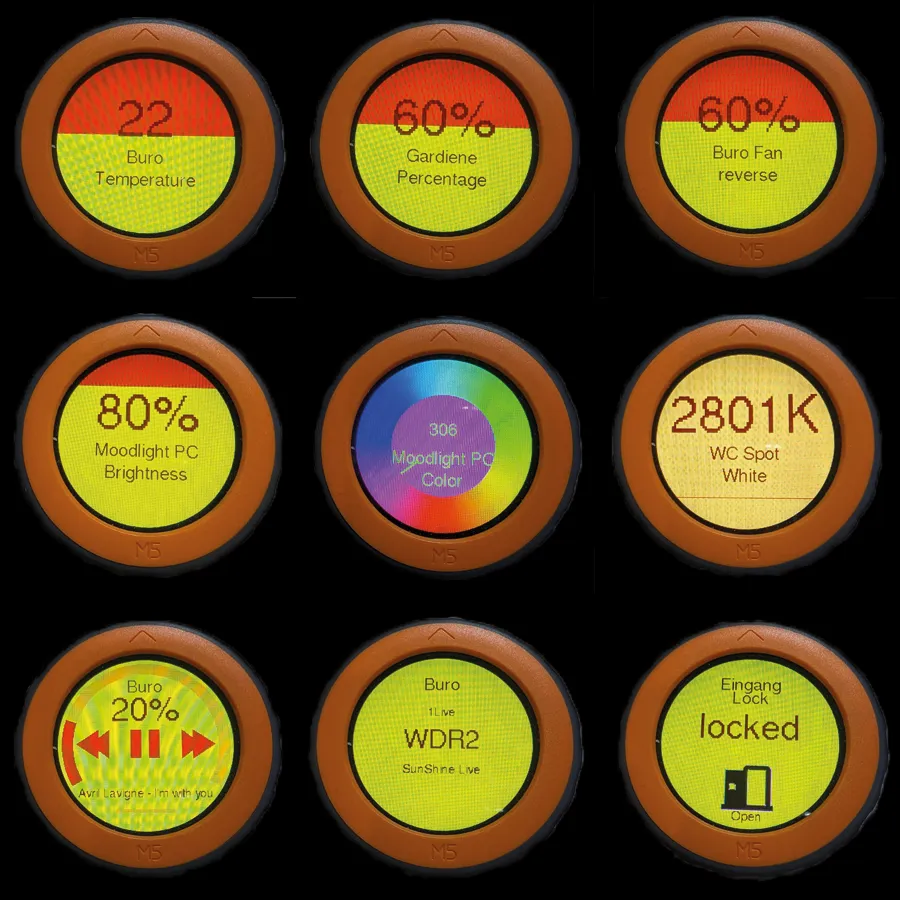
Full repository is in github from the YouTuber SmartHome yourself
Once the Dial has been tested, the next step is to install firmware designed for Home Assistant.
This project lets you control different types of entities by changing only a few lines in the configuration file.
For example, you can add:
- Lights.
- Climate control.
- Blinds.
- Media players.
- fans.
- inpup_numbers
- locks
- number.
- switches.
- timers.
The key advantage is that you are not programming an application from scratch.
In most cases, you simply specify which Home Assistant entity you want to control.
For example:
- a light;
- an air conditioner;
- a media player.
Once configured, the Dial automatically displays the appropriate interface, and the rotary encoder can adjust brightness, volume or temperature depending on the selected device.
This is often the point at which people discover that working with ESPHome is much easier than they expected.
My custom firmware
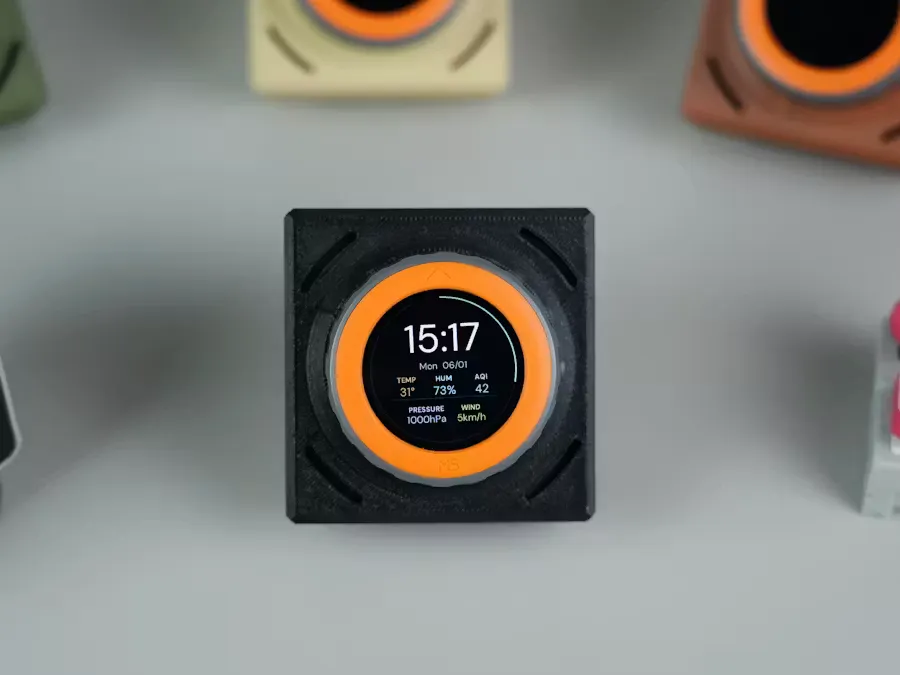
This customization is based on the fantastic project developed by Jason.
After using that firmware for a few days, I realised that it worked extremely well.
However, I wanted a more polished interface and a more enjoyable user experience.
While exploring different projects, I found firmware that had originally been developed for another purpose.
That project was primarily designed to control an LED strip through the M5Stack Dial's GPIO pins.
Rather than using it unchanged, I forked it and fully adapted it for Home Assistant.
The result is the firmware I use today.
It was not written from scratch.
Much of the work had already been done in the original project, but it has been modified for a completely different use case.
Among other features, it includes:
- a cleaner interface;
- more polished animations;
- screens optimised for everyday use;
- Home Assistant integration.
The full repository of this customization can be found in my personal github.
It currently supports multiple lights, climate control and other compatible devices.
Like any open-source project, it will continue to evolve over time.
Powering it without USB
One of my favourite features of the M5Stack Dial is that you do not have to leave a USB cable connected.
Once configured, it can be powered directly through the rear connector using only two wires.
This makes a permanent installation far easier.
For example:
- placed on a 3D-printed stand;
- mounted on a wall;
- built into a piece of furniture.
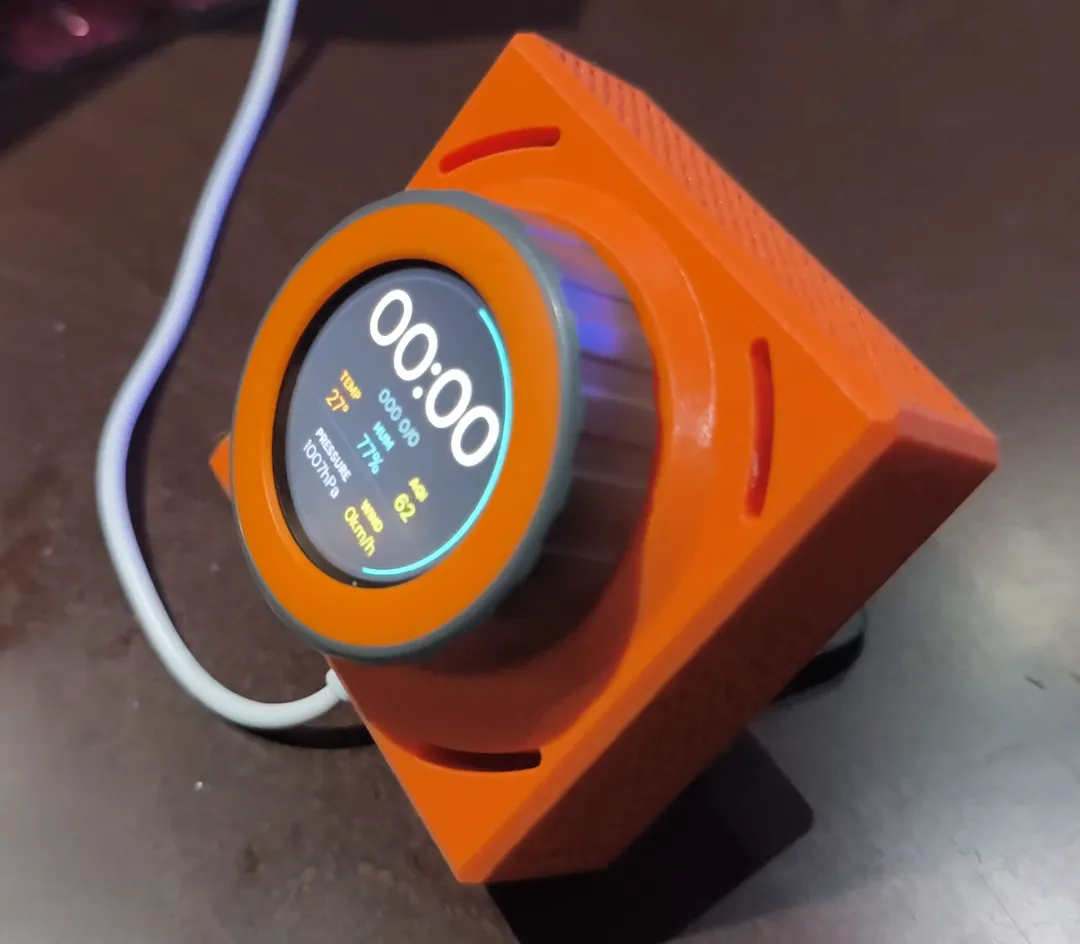
The result looks much cleaner and feels like a fully finished device.
Much more than a display
Another useful feature of the Dial is the set of GPIO pins accessible from the rear.
This means you can connect additional hardware such as:
- sensors;
- relays;
- LED strips;
- buttons;
- other ESP32-compatible devices.
This opens the door to much more advanced projects.
Although this article focuses on Home Assistant, the hardware can support many other ideas.
Do you need programming skills?
This is probably the most common question.
The answer depends on how far you want to take the project.
If you simply want to use one of the existing projects, you do not need advanced programming knowledge.
Most of the work involves:
- changing a few entities;
- renaming items;
- adjusting small parameters;
- compiling the firmware.
All of this starts from a fully working foundation.
AI can help too
Another advantage today is that artificial intelligence tools can help us understand projects that might have seemed inaccessible only a few years ago.
If you find a section of code you do not understand, you can ask for an explanation or even get help making a specific change.
That does not mean everything will work automatically.
You will still need to test, compile and fix errors.
But it significantly lowers the barrier to entry for beginners.
Resources used
M5 Dial firmware for ESPHome
https://github.com/SmartHome-yourself/m5-dial-for-esphome
Original project
https://www.hackster.io/JasonFang/smart-home-button-a-circular-hmi-for-home-assistant-872133
My Home Assistant fork
https://github.com/hectorzin/m5stack-dial-home-assistant
Recommended gear
Device used in this project: M5Stack Dial v1.1. If you need it, here is where to find it:
- M5Stack Dial v1.1 — Reviewed in the video: OPENELAB · Amazon · AliExpress
Conclusion
After using this project for some time, I believe the most important conclusion is not simply that the M5Stack Dial is a good device.
What really matters is seeing that getting started with ESPHome is far more accessible than it first appears.
You do not need to build a project from scratch.
You can start with working firmware, gradually understand how it is built, modify small sections and adapt it precisely to your needs.
This is how most of the community learns.
And it is probably also the easiest way to move from Home Assistant into the world of ESP32 devices.
Frequently asked questions
Is it compatible with Home Assistant?
Yes. Both the example firmware and the projects used in this article are designed to integrate with Home Assistant through ESPHome.
Do I need programming skills?
Not necessarily. You can start with existing projects and make only small modifications.
Can it be powered without a USB cable?
Yes. Once configured, the M5Stack Dial can be powered through its rear connector using two wires.
What devices can I control?
Lights, climate control, blinds, media players and almost any entity supported by Home Assistant.
Can I modify the firmware?
Yes. Both the original project and my fork are open source and can be adapted to add new features or change the interface to suit your needs.