How to control ANY IR light from Home Assistant: The case of the outdoor "Water Drop" lamp
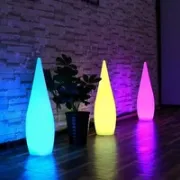
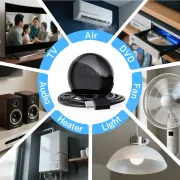
Do you have an outdoor or indoor lamp with an infrared (IR) remote and feel frustrated because you can’t include it in your automations? In this article, we’re going to turn a “dumb” lamp into a 100% smart device integrated into Home Assistant. We’ll use the spectacular 1.20 m outdoor water drop-shaped lamp as an example, but this method works for any IR device: air conditioners, fans, or old LED strips.
On YouTube I share more tutorials, hands-on tests and real smart home setups. Subscribe on YouTube
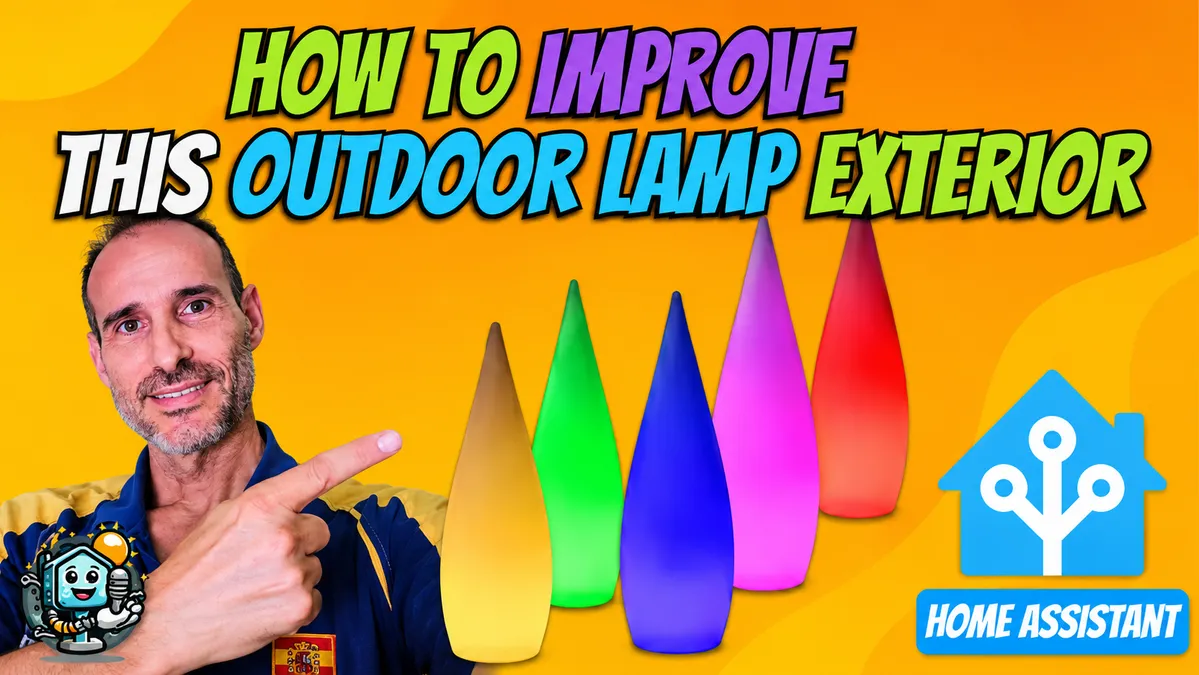
Related video on YouTube
VideoStep 1: Learning commands in Tuya
The first step is to “teach” the IR transmitter the codes from our lamp.
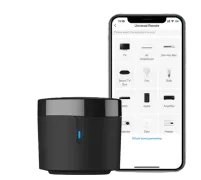
- Add the IR transmitter to the Smart Life or Tuya app.
- Open the device and select “Learning Mode”.
- Press each button on the original remote control (On, Off, Red, Green, Brightness+, etc.) in front of the transmitter.
- Key to success: Create a Scene in the Tuya app for each button. For example, a scene called “Water Drop Light Red” that simply runs the “Red” IR command. This is essential because Home Assistant automatically detects Tuya scenes.
Step 2: Integration in Home Assistant
Once the scenes have been created in Tuya, they will appear in Home Assistant as entities such as scene.luz_lagrima_rojo. Now we’re going to turn them into a real light entity.
Helper Configuration (YAML)
So Home Assistant can “remember” the state of the light, since IR is one-way, we need to create a few helpers in our configuration.yaml file or in separate files:
input_boolean:
  luz_lagrima_status:
    name: "Water Drop Light Status"

input_number:
  luz_lagrima_brightness:
    name: "Water Drop Light Brightness"
    min: 1
    max: 10
    step: 1

input_select:
  luz_lagrima_effect:
    name: "Water Drop Light Effect"
    options:
      - "None"
      - "Flash"
      - "Strobe"
      - "Fade"
      - "Smooth"
Creating the Template Light Entity
Now we define the light so it appears on our dashboard with color and brightness controls:
light:
  - platform: template
    lights:
      luz_lagrima_completa:
        friendly_name: "Water Drop Lamp"
        unique_id: luz_lagrima_rgb
        icon_template: mdi:lighting-status
        value_template: "{{ is_state('input_boolean.luz_lagrima_status', 'on') }}"

        turn_on:
          service: script.luz_lagrima_encender
        turn_off:
          service: script.luz_lagrima_apagar

        set_color:
          service: script.luz_lagrima_aplica_color
          data:
            hs_color: "{{ hs_color }}"
Full Code: You can find the color mapping script (color wheel) and brightness control through loops in my official Gist.
Step 3: Outdoor Protection (3D Printing)
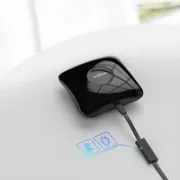
Since the Tuya IR transmitter is not waterproof, I used a protective case. If you have a 3D printer, you can download similar models from Cults3D or Thingiverse. I used this Camera Cover design, adapted to protect the sensor under the terrace overhang.
Recommended gear
These are the devices used in this project:
Smart lighting
- Water-drop outdoor floor lamp — Reviewed in the video: AliExpress
Smart universal remote / IR + RF hub
- BroadLink RM4 Mini — Reviewed in the video (Emisor IR): AliExpress · Amazon
- Broadlink MR4 Pro — Reviewed in the video (Emisor IR): Aliexpress · Amazon · RM4 Mini (solo IR)
- Tuya Universal IR Remote (IR económico y pequeño): AliExpress
3D printer
- Anycubic Kobra S1 Combo: AliExpress · AliExpress (NO ACE Pro)
- Artillery M1 Pro S1: Geekbuying · AliExpress
Conclusion and Automations
Now that your IR lamp is a light entity in HA, the possibilities are endless:
- Turn on at dusk: Only if someone is home.
- Cinema Mode: Change to dim blue when the projector turns on.
- Notification alert: Flash red if motion is detected in the garden.
What other IR device do you have at home that you’d like to integrate? Tell me in the video comments!