M5Stack Dial: The Ultimate Physical WLED Controller Without Home Assistant
Have you ever had to unlock your phone, open the WLED app and wait for it to connect just to change the brightness or colour of your LED strips? Smart home technology is supposed to make life easier, but too many steps can quickly get in the way of convenience. In this guide, we turn an M5Stack Dial into a dedicated physical controller for WLED. Best of all, it works completely independently, with no external servers and no complex Home Assistant setup required.
On YouTube I share more tutorials, hands-on tests and real smart home setups. Subscribe on YouTube
What Is the M5Stack Dial?
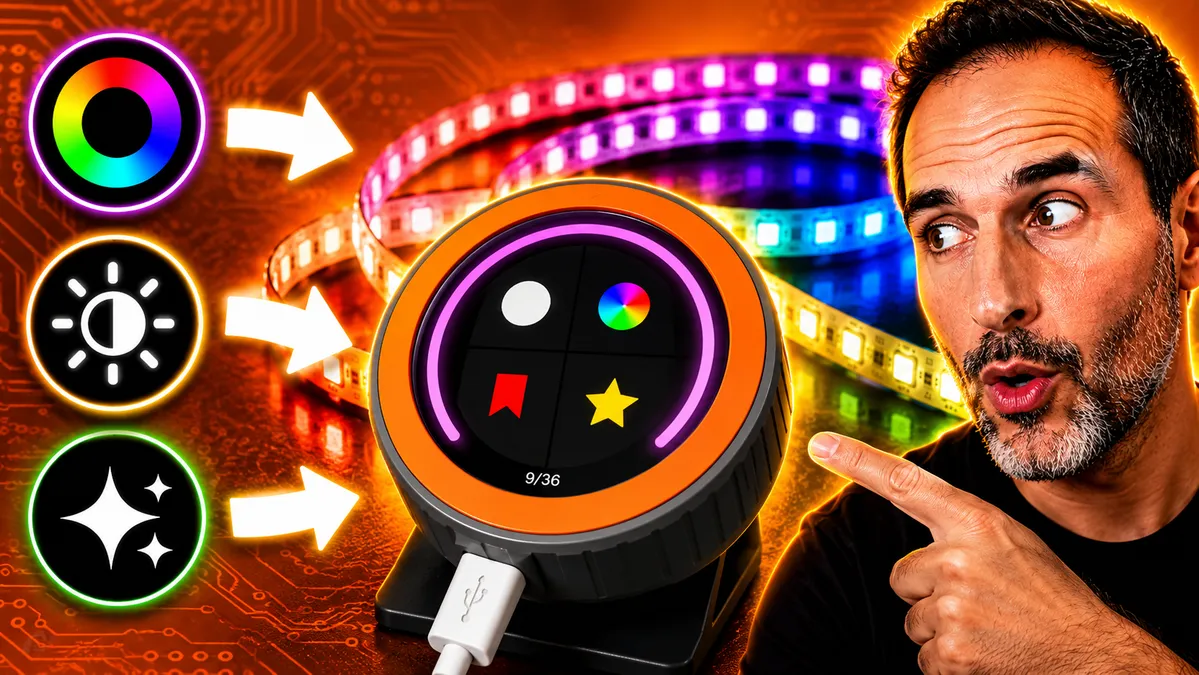
The M5Stack Dial is a device built around the powerful ESP32-S3. It features a high-quality circular touchscreen, a rotary encoder (the dial) with excellent tactile feedback, and Wi-Fi/Bluetooth connectivity. It is ideal hardware for creating compact, elegant human-machine interfaces (HMIs).
Required Software
- Visual Studio Code (VS Code): The main code editor we will use.
- Download VS Code (Windows, macOS, Linux)
- PlatformIO: Install it as an extension inside VS Code by searching for "PlatformIO IDE" in the Extensions Marketplace.
Project Files
- m5dial-wled firmware (GitHub): The source code developed by jmaffie that makes this project possible.
- Open the repository on GitHub
- 3D-Printable Enclosure: Jason's design gives the controller a polished, professional finish.
- Download the model from Hackster.io
Step-by-Step Guide: Installing the Firmware
Do not be put off by terms such as "ESP32" or "compiling". The process is as straightforward as installing any other program on your computer. We will use the open-source m5dial-wled project created by jmaffie.
1. Prepare the Development Environment
You only need to complete this part once:
- Download and install Visual Studio Code.
- Inside VS Code, find and install the PlatformIO IDE extension. Be patient, as the initial setup can take a few minutes.
2. Download and Configure the Project
- Download the m5dial-wled project repository from GitHub.
- Extract the folder and open it in Visual Studio Code.
- Configure your credentials: Find the file named
secrets.h.exampleand rename it tosecrets.h. - Edit the file with your network details:
// Example secrets.h configuration
const char* ssid = "YOUR_WIFI_NAME";
const char* password = "YOUR_WIFI_PASSWORD";
const char* wled_host = "192.168.1.100"; // Your WLED controller IP address or mDNS hostname
3. Flash the Firmware
- Connect the M5Stack Dial to your computer using a USB-C cable.
- In the PlatformIO toolbar at the bottom of VS Code (the alien icon), click the "V" (Build) icon to check that everything compiles correctly.
- If the build succeeds, click the "Right Arrow" (Upload) icon to flash the firmware to the device.
Using the Controller: What Can You Control?
After restarting, the dial will connect to your Wi-Fi network and display a smooth, modern interface. This is where the useful features begin:
- Brightness Control: Turn the dial to adjust the brightness. It is easily one of the most useful features for everyday use.
- Colour Picker: Change the atmosphere of the room in seconds by navigating the colour wheel.
- Dynamic Effects: Browse WLED's extensive effects library intuitively.
- Customisation: Adjust the speed and intensity of each effect directly from the touchscreen.
The response is immediate. With no intermediary services involved, communication between the M5Stack Dial and WLED is direct and exceptionally smooth.
A Professional Finish with 3D Printing
To prevent the device from looking like a bare electronic component sitting on a desk, I recommend printing an enclosure or stand. I used the design by Jason, which gives it the appearance of a classic camera while hiding the wiring.
- 3D Model (Smart Home Button): Download from Hackster.io
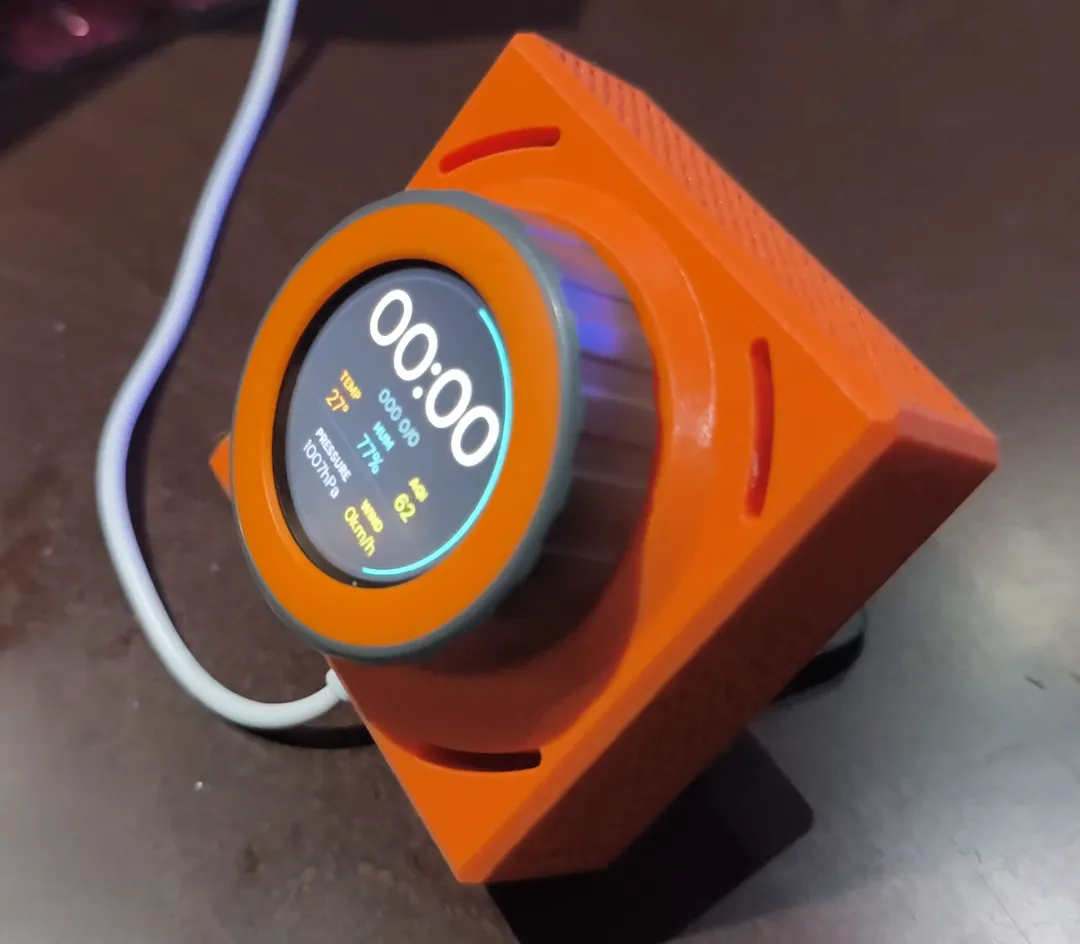
Pro Tip: The M5Stack Dial has power terminals on the back. For a clean wall-mounted installation, you can power it directly through these terminals instead of using the side USB port.
Recommended gear
These are the devices used in this project:
Panel / Touchscreen
- M5Stack Dial v1.1 — Reviewed in the video: OPENELAB · Amazon · AliExpress
Smart lighting
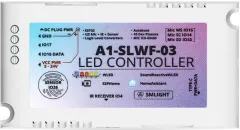
- SMLIGHT SLWF-03 (Controlador WLED): AliExpress
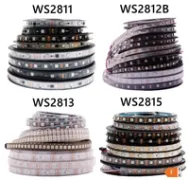
- WS2811 / WS2812B / WS2813 / WS2815 RGB LED Strip (Tira LED direccional (WLED)): AliExpress · Amazon
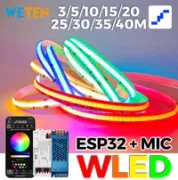
- WLED RGBIC COB LED Strip Kit (PACK WLED COB): AliExpress
Conclusion
The M5Stack Dial is more than a "toy" for enthusiasts; it is a practical tool that improves the ergonomics of your smart home. If you already use WLED, this physical controller could be the missing piece in your setup.
To take the device further and control it through Home Assistant with ESPHome for blinds, lights or climate control, read my other tutorial: Control Home Assistant with the M5Stack Dial.
What feature would you add? Share your ideas in the comments!
Recommended gear