
How to View Issues in Home Assistant with Status Card (No Code!)
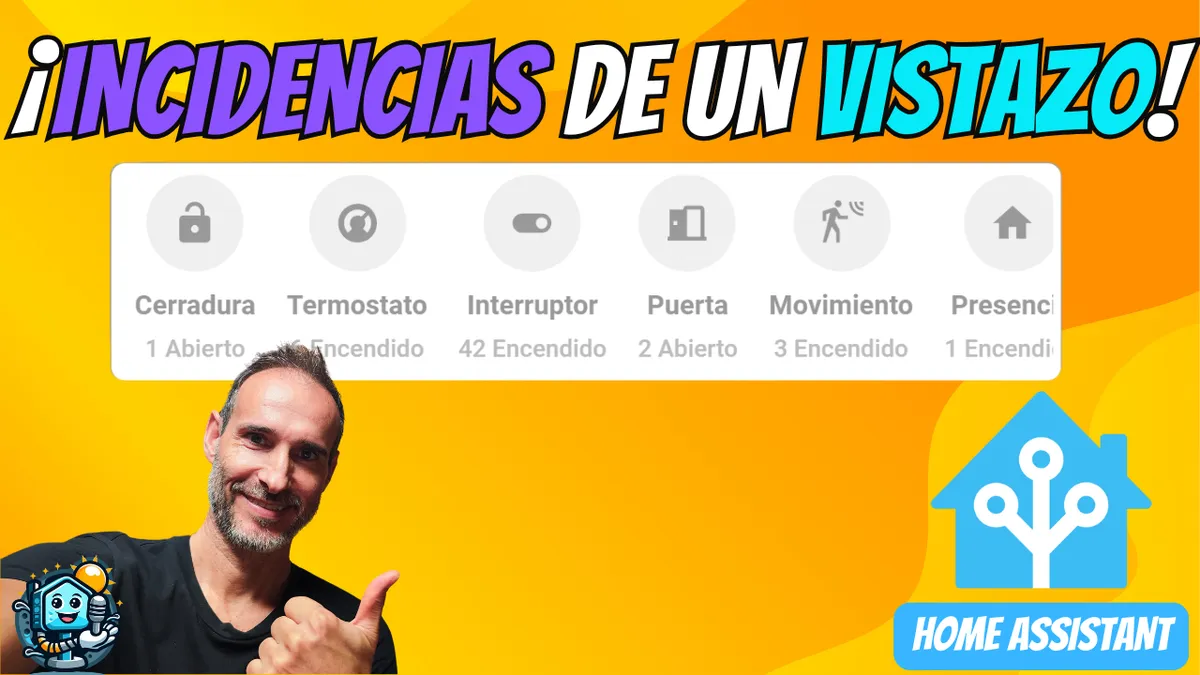
Have you ever felt like your Home Assistant dashboard is too cluttered? Checking one by one whether a light is on, a window is open, or you’ve left the air conditioning running can be tedious. Today I’m bringing you the ultimate solution: Status Card. A dynamic card that only shows information when there’s actually something that needs attention. In this guide, we’ll walk through how to install and configure it step by step—and the best part is that we won’t need to touch a single line of YAML code!
On YouTube I share more tutorials, hands-on tests and real smart home setups. Subscribe on YouTube
Related video on YouTube
VideoWhat Is Status Card and Why Do You Need It?
Status Card is a custom card for the Home Assistant frontend (available in HACS) that groups entities based on their state. Instead of showing 20 fixed icons, the card creates smart “bubbles” that only appear when, for example, lights are on or motion sensors are triggered.
Main benefits:
- Visual cleanliness: Your dashboard stays minimal.
- Area-based management: Filter issues by labels, floors, or rooms.
- Quick access: It works like a button; if you tap the “Lights” bubble, it will show you which ones are on.
- Ideal for Tablets: Perfect if you use screens like the Poco TAB in your home’s entryway.
Step-by-Step Installation from HACS
To install this gem, you first need to have HACS (Home Assistant Community Store) set up.
- Go to HACS in your Home Assistant sidebar.
- Open the Frontend section.
- Click the "+" button and search for
Status Card. - Select the xBourner repository and click Download.
- Reload the dashboard resources when the system prompts you to.
Visual Setup (No YAML)
Once installed, adding it to your dashboard is as easy as with any other official card:
1. Add the card
Edit your dashboard, click "Add card", and search for Status Card. A very intuitive visual editor will open.
2. Smart filtering
This is where the magic happens. You can configure the card to track:
- Domains: For example,
lightfor lights orbinary_sensorfor doors/windows. - Labels or Areas: If you only want to see issues from the "Ground Floor", you can filter it easily.
3. State customization
You can decide which states count as an “issue.” By default, on, open or detected will make the card appear. You can also hide the card completely when there are no active issues, creating a 100% dynamic dashboard.
Pro tips for your dashboard
- Grouping: Use the group-by-type option so lights don’t get mixed in with security sensors.
- Dynamic colors: Set eye-catching colors (like orange or red) for critical issues such as “Water leak” or “Door open.”
If you want to see exactly what it looks like in action and how I set up each filter in my own home, check out the full video: 🔍 View Issues Instantly [Status Card from HACS] for Home Assistant
Conclusion
Status Card is an essential tool for any Home Assistant user looking for efficiency. It takes you from a system that “shows data” to one that truly “keeps you informed about what matters.”
What did you think of this card? Let me know in the comments and don’t forget to subscribe to the channel so you don’t miss any smart home tips.